For centuries, mythology has supported the use of Rudraksha beads as rosaries. Believers associate them to Lord Shiva because of being frequently seen beaded in chains among worshippers. Over the years, we have seen a rise in these beads because of various physiological benefits as well as the emergence of a new Indo-Western fashion statement. As per Ayurveda, Rudraksha strengthens the body constitutions.
Also, Rudraksha, according to Ayurveda, strengthens the body constitutions. Rudraksha instills power in the body, which helps in the fight against disease and so improves overall health.
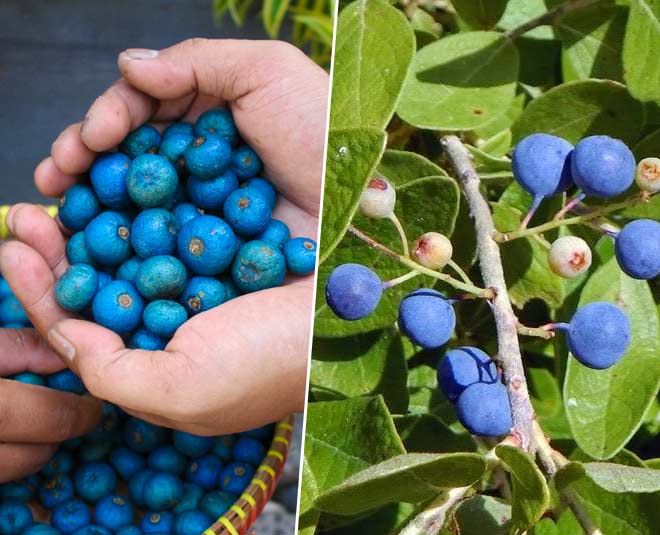
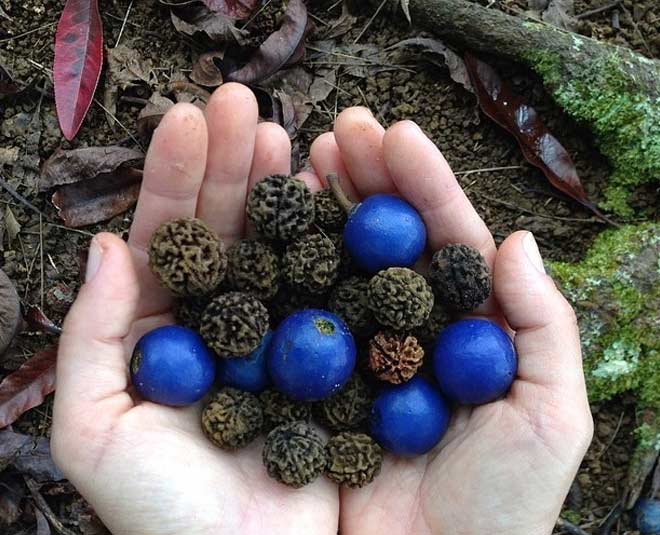
But did you know where these rudraksha beads came from? They come from a tree. In their ripe stage, Rudraksha seeds are covered with a lush blue outer fruit on the outside.
Here is how you can grow them at home with easy steps:
Don't miss: Add Some Gulmohar Trees To Your Garden For Amazing Health Benefits
A special feature of the plant is that it can produce a large number of plants from a single Rudraksha plant, which are readily available at local nurseries. To grow these plants, follow these simple steps.
The primary step is to peel the skin off of a 2-inch area on the bark. So, first and foremost, cut the plant. The cut should be made just a few centimeters below the nodal region of the plant for the ideal result. Use a sharp knife to make the cut. It is expected that fresh growth will emerge in this area. Make two round cuts within a 2-inch distance of each other for this. Make a slit between them to make peeling the skin off with your nails easier.
Then scratch the bark a few times. Scratches on the stem cause the plant to actively regenerate, which speeds up the process of plant growth.
The next step is the air layering process. You will require balls of moss for this. These should be steeped in water for a few hours after being covered in cinnamon powder or honey. After then, each ball will be used to make a single air layering. To keep the plant from drying out, this is one of the most important parts of the process.
The moss ball is then used to cover the skinned bark below the nodal area. Then, a square plastic sheet is placed over the ball. A jute or plastic string can be used to wrap the sheet around the ball and tighten it.
That's all there is to it for the plant to grow and thrive. The Rudraksha stems will sprout new life very soon.
Don't miss: Rauwolfia Serpentina Or Indian Snakeroot Plant Health Benefits
Leave the plastic cover untouched for a period of three to seven weeks. This will allow the roots to emerge from the air layering. When done, this is the time to cut the tree's off and transplant it. The moss ball coiled around the bark is delicate and should be handled with care.
After careful unwrapping, the saplings will be ready to be transplanted into a pot. Determine the size of the pot by looking at the height of your plant. A pot half the height of the plant is usually recommended to give it enough room to grow and flourish.
The Rudraksha plant should be kept in open sunlight once it begins to develop, as this is where it thrives best.
In a matter of a year, the homegrown plant transforms into a fully grown tree ready to be harvested for its seeds. Hope you found this article.
For more stories like this, stay tuned to HerZindagi!
The homegrown plant will soon mature into a fully grown tree in a year, and will be ready to be harvested for its seeds.
I hope you liked reading this article. Stay tuned to HerZindagi for more stories like these!
Also watch this video
Herzindagi video
Our aim is to provide accurate, safe and expert verified information through our articles and social media handles. The remedies, advice and tips mentioned here are for general information only. Please consult your expert before trying any kind of health, beauty, life hacks or astrology related tips. For any feedback or complaint, contact us at compliant_gro@jagrannewmedia.com.