There are so many advantages of being a girl, from being the more pampered one at home to the most stylish and trendy person, girls can be everything they want. But sometimes fashion and a great lifestyle, come at a great cost too, which we cannot afford as students or non-earning members.
But if you can’t afford it, you can DIY it! Yes, girls, you heard that right. DIY is the most amazing thing to do. You can make things on your own and use them at ease, from home décor to fashion there are a whole lot of opportunities for DIY projects. So, here are some cool Fashion DIY (accessories) projects for you to try:

For this DIY you’ll need:
Taking one end of your ribbon, make a small loop out of it. Pass the needle through the centre of the loop, piercing two layers of the ribbon. Now, add a bead into the needle. And make a loop with the ribbon again. Repeat this process, until the whole ribbon. Now, wear the ribbon and tie it into a know around your wrist. And there, your amazing DIY Bracelet is ready.

For this, you’ll need:

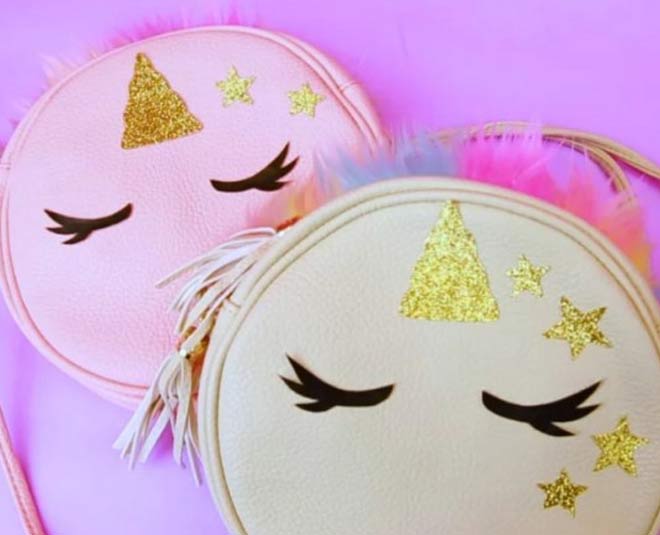
Here’s all you need:

For this you’ll be needing:
Cut the fabric according to the size of your hairband. Take a trip of the fabric and stitch it with outer sides facing each other. Now push this strip over the hairband, covering it completely.
Take another strip of the same fabric and stitch it similarly. Next, tie a simple knot on this one and place it over the hairband. Finally secure the second strip over the first with glue and cut the extra ends. And don this headband like queen to rock your outfits.
Don't Miss: From DIY Projects To Shoe Shapers To Fridge Shelves, Use Old Newspapers In 15 Ways

Make a bow belt with the following things:
Don't Miss: DIY: Five Easy Ways To Give Your Old T-shirts Cool Makeovers
Stay tuned to Her Zindagi for more articles like this.
Also watch this video
Herzindagi video
Our aim is to provide accurate, safe and expert verified information through our articles and social media handles. The remedies, advice and tips mentioned here are for general information only. Please consult your expert before trying any kind of health, beauty, life hacks or astrology related tips. For any feedback or complaint, contact us at compliant_gro@jagrannewmedia.com.