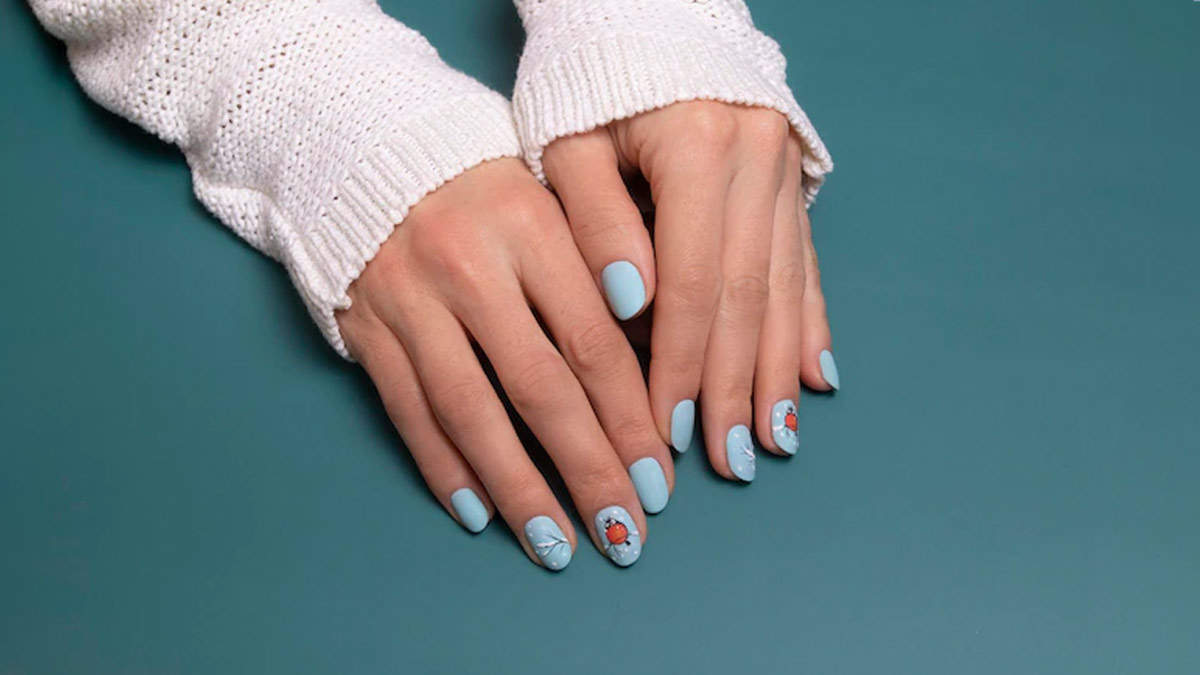
Your Guide To Apply Nail Stickers At Home
Accessories are an essential tool to enhance every look. Similarly, nail accessories also play a massive part in making sure one looks put together. But everyone is not blessed with beautiful and perfectly shaped nails. As a result, many end up opting for nail extensions and gel nail polish. But while this option is easy and convenient it is also very expensive and often out of the budget for most people. Affordable nail stickers are a great alternative for those who cannot go for expensive nail extensions. Here is your guide on how to apply nail stickers at home.
How To Apply Nail Stickers?

Firstly, you need to purchase nail stickers which are easily available on online websites like Amazon and Flipkart. You can choose sets of the same colour or you can go for nail stickers that have a variety of cute designs on them.
Remember to make sure that the nail stickers you are buying are waterproof and safe for the skin as these will stay on your nails for a long time and will most likely come in contact with water.
Things You Will Need
Scissors
Nail File
Clear Nail Polish
Tweezers
Application

Step 1: You need to wash your hands thoroughly and clean your nails and get rid of any dirt that may be in them.
Step 2: Take a clear nail polish and apply one coat on all your fingernails. This is because your nails produce their own natural oil and the nail stickers will not adhere properly to your nails until they are polished.
Don't miss:Planning For Nail Extensions? Know The Difference Between Acrylic And Gel Nail Extensions
Step 3: Make sure the base coat of the clear nail polish is dry. Then take the strip of nail stickers of your choice and before peeling them off, measure the nail sticker and make sure it perfectly matches your nail size.
Step 4: Remember to avoid touching the adhesive side of the nail sticker as that may affect its adhesiveness. Use tweezers to peel off the nail sticker.
Step 5: Place the nail sticker very gently on your nail with tweezers.
Don't miss:5 Classic Jacket Styles For Women To Try This Winter
Step 6: Smoothen the nail stickers (Shahnaz Husain Decodes Nail Art For Brides) with tweezers and do that from the centre to the edge of the sticker. Get rid of any air bubbles under the sticker and ensure that the sticker doesn't have any wrinkles as it sticks to your fingernails.
Step 7: Place the nail sticker in such a way so that the excess part of the sticker comes out on the top. Cut the excess part of the sticker off with scissors.
Step 8: Use a nail file to file the nail after you are done placing the sticker properly.
Step 9: To seal the nail sticker on your finger properly, apply the last coat of clear nail polish on the nail.
Also watch this video
Herzindagi video