This is a cool and fun project for kids to learn how to make. This project is great for those who love crafting and it doesn't require any special skills or tools. It's an easy project to do at home and it will be a great gift for someone who loves jewellery. All you need are some materials, such as wood and paint, and about an hour of your time.

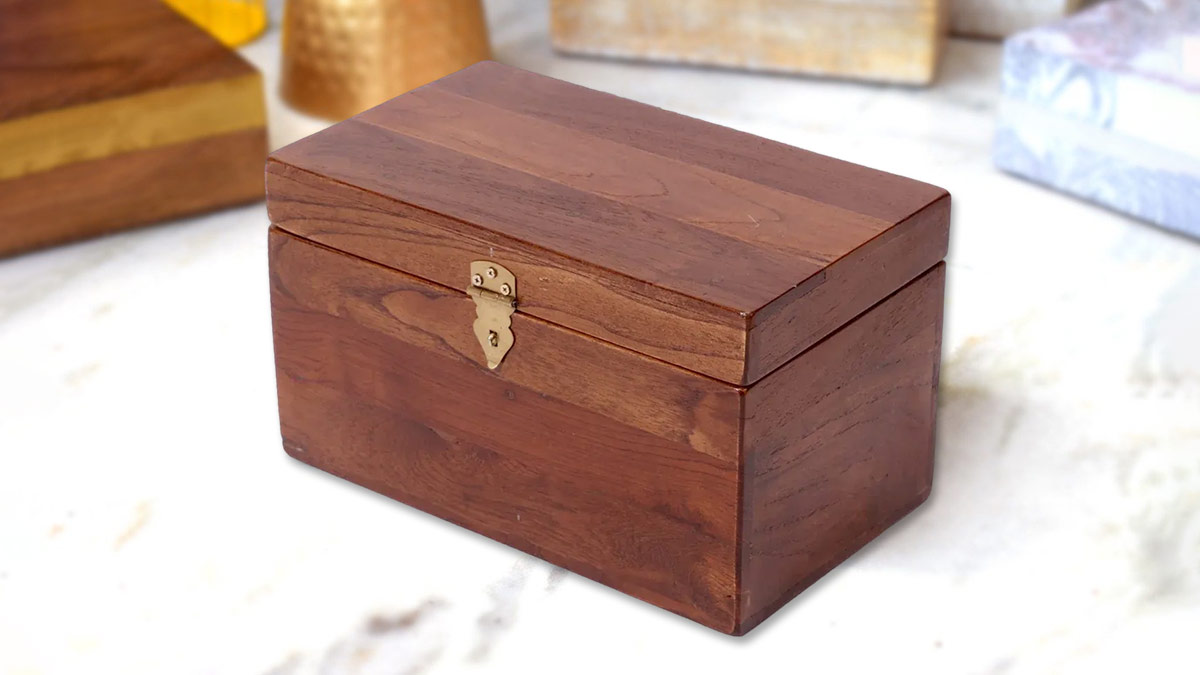
This box can be used to store precious jewellery or other small items that you want to keep safe and sound. It also looks beautiful on display in a bedroom or living room. The possibilities are endless! The finished product will be a box where you can store your jewellery, or fill it up with gift cardsand little trinkets as a sentimental reminder of the people who gave them to you, or just for decoration in the house.
Box Bottom - 1/2" x 3-1/2" x 12" (12mm x 89mm x 305mm)
Box Sides - 1/2" x 3-1/2" x 9" (12mm x 89mm x 229mm)
Box Top - 1/2" x 3-1/2" x 6" (12mm x 89mm x 152mm)
Don't miss:5 Tips To Protect Your Skin During Spring
Wood glue
Screws
Nails and optional paint.
Tape measure
Pencil
Hand saw
Drill machine with a 1/4" (6mm) bit
Electric screwdriver.
Don't miss:Essential Tips To Follow For Happy & Healthy Skin
The size of the box can be adjusted depending on your needs or the size of a picture frame that you might have around your house already.
Step 1: Cut the pieces of wood that make up the box. In this case, we are going to use 1/2" x 3-1/2" x 12" (12mm x 89mm x 305mm) for the bottom and 1/2" x 3-1/2" x 9" (12mm x 89mm x 229mm) for the sides and 1/2" x 3-1/2" x 6" (12mm x 89mm x 152mm) for the top.
Step 2: Firstly, draw your design on the box. This can be any shape or picture that you like. You can choose to make a small heart-shaped jewellery box for Valentine's Day. If you are making this for yourself, you can draw whatever design or picture that you like.
Step 3: Once you've finished drawing your design on the wood, take a sharp blade and carefully cut out the shapes. You can use any type of cutting tool such as an electric saw or even a knife if you have one around. The important thing is to make sure that all the edges are smooth so they won't hurt anyone when they open up the box.
Step 4: Now that the box is perfectly cut up and shaped to your desired design. It's time to decorate your box however you like it. You can paint it or add stickers. You can also decorate it with glitter and shiny sequences of different kinds.
Also watch this video
Herzindagi video
Our aim is to provide accurate, safe and expert verified information through our articles and social media handles. The remedies, advice and tips mentioned here are for general information only. Please consult your expert before trying any kind of health, beauty, life hacks or astrology related tips. For any feedback or complaint, contact us at compliant_gro@jagrannewmedia.com.