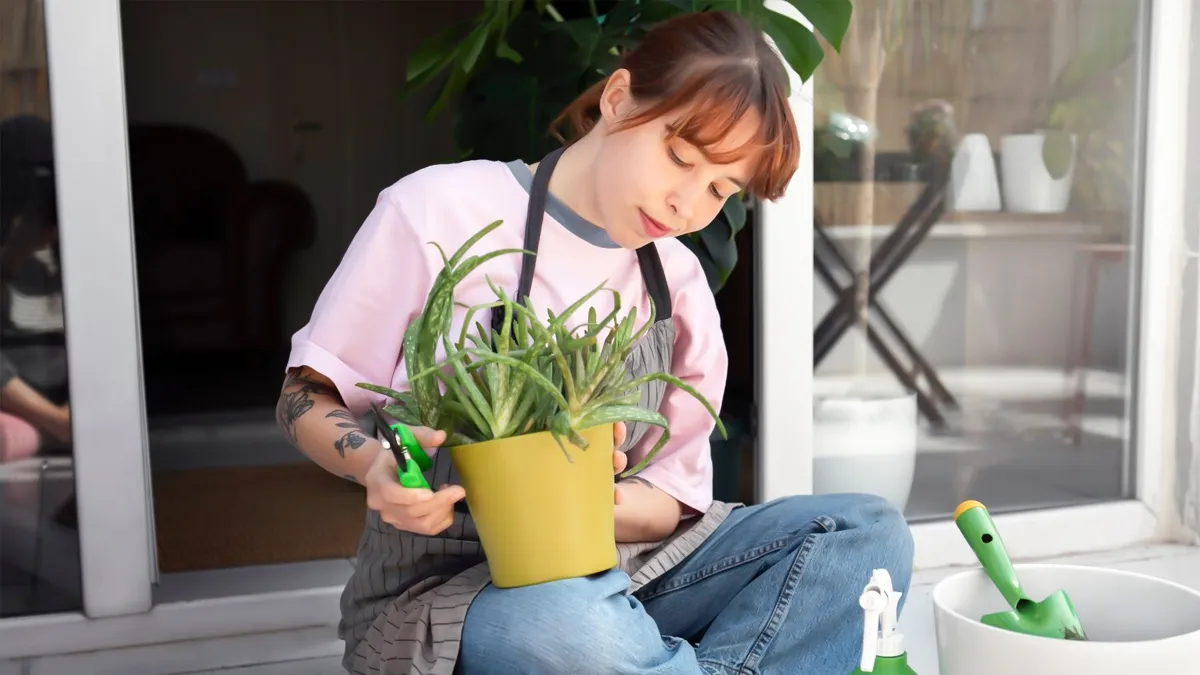
Using an old raincoat as a planter cover is a clever and sustainable way to repurpose an item that might otherwise end up in a landfill. The waterproof material is perfect for protecting plants from overwatering during heavy rain, and the bright colours can add a fun, quirky touch to your garden. Here's a simple guide on how to turn an old raincoat into a planter cover.
How To Turn Old Raincoats Into a Planter Cover
Method 1: The Simple Wrap
This method is best for small to medium-sized pots and requires no sewing.
Materials:
- An old raincoat
- Scissors
- Twine, rope, or elastic bands
![Outdoor planters PSD, High Quality Free PSD Templates for Download | Freepik]()
Instructions:
- Make sure the raincoat is clean and dry before you start. Cut a piece of the raincoat that is large enough to wrap around your planter. A good rule of thumb is to measure the height of the pot and its circumference, and then cut a piece that is a few inches wider than the circumference and taller than the pot's height. You can use a sleeve or a large section of the body.
- Place the pot in the centre of the raincoat piece. Bring the fabric up and around the sides of the pot. Use twine, rope, or elastic bands to tie the fabric securely around the rim of the pot. You can gather the excess fabric at the top for a decorative, bunched look. Trim any excess fabric at the top or bottom to create a neat finish.
Method 2: The Sewn Cover
This method is for a more fitted, polished look and works well for a variety of pot sizes.
Materials:
- An old raincoat
- Scissors
- Measuring tape
- Sewing machine or needle and thread
- Elastic
![Urban planters PSD, High Quality Free PSD Templates for Download | Freepik]()
Don't Miss: How To Convert Old Curtains Into Wall Hangings For Room Decor
Instructions:
- Measure the height of your planter and the circumference of the top and bottom. Cut a piece of the raincoat that matches the dimensions of your planter, plus a 1-inch seam allowance on all sides. You can cut a single piece to wrap around or two pieces for a more structured cover.
- If you're creating a single piece, sew the two short ends together to form a tube. If you're creating a base, sew the main tube to the circular bottom piece, leaving an opening for the pot.
- Create a hem at the top of the cover by folding the raw edge down and sewing it in place. If you'd like, you can insert elastic into this hem for a snug fit that hugs the pot. Slide the finished cover over your planter. You can keep the cover on the planter as a permanent decorative piece or remove it as needed.
Image credits: Freepik
Don't Miss: How To Convert Newspapers Into DIY Wall Art Frames
If you liked this story, then please share it. To read more such stories, stay connected to HerZindagi.


