Potatoes are a highly versatile crop that can thrive in a bucket within just a few months. Despite being a root crop with an extensive root system, it's surprisingly easy to grow a bountiful crop of home-grown potatoes in a bucket. Potatoes are a staple ingredient in many cuisines, and they come in a variety of shapes, sizes, and colours, all of which can be successfully cultivated in containers, such as 5-gallon buckets. If you’re interested in growing potatoes in your home garden, planting them in a bucket is a great option. To help you get started, we have a detailed guide on how to grow potatoes in a bucket.
Supplies Needed For Growing Potatoes In A Bucket
To grow potatoes in a bucket, you will need the following supplies:
- Buckets: Opt for 5-gallon buckets equipped with drainage holes. If your buckets lack holes, you'll need to drill some to prevent waterlogging.
- Seed Potatoes: Get certified seed potatoes or tubers from a reputable source, selecting varieties that suit your climate and taste.
- Potting Mix: A good-quality potting mix is essential, or you can create a blend of garden soil, compost, and perlite to ensure proper drainage and nutrient supply.
- Compost: Incorporating compost into your potting mix will enhance nutrient content and soil quality.
- Fertiliser: Use a balanced, all-purpose fertiliser or one specifically designed for potatoes, following the recommended application rates.
- Watering Equipment: A watering can or hose will help you keep the soil consistently moist without becoming waterlogged.
- Mulch: Organic materials such as straw or grass clippings will help retain soil moisture and regulate temperature.
- Plant Markers: Handy for identifying different potato varieties or noting planting times.
- Gardening Tools: Basic tools like a trowel or hand fork will assist with planting and care.
- Sunlight: Ensure the buckets are placed in a sunny spot, receiving at least 6-8 hours of direct sunlight each day.
Don't Miss: How To Grow Money Plant In A Water Bottle: A Step-By-Step Guide
![grow potatoes in bucket]()
These items will help you successfully cultivate potatoes in a container garden.
How To Grow Potatoes In A Bucket
We got in touch with Swaminathan, a local gardener from a nursery in Dwarka, who provided us with a comprehensive guide on growing potatoes in a bucket.
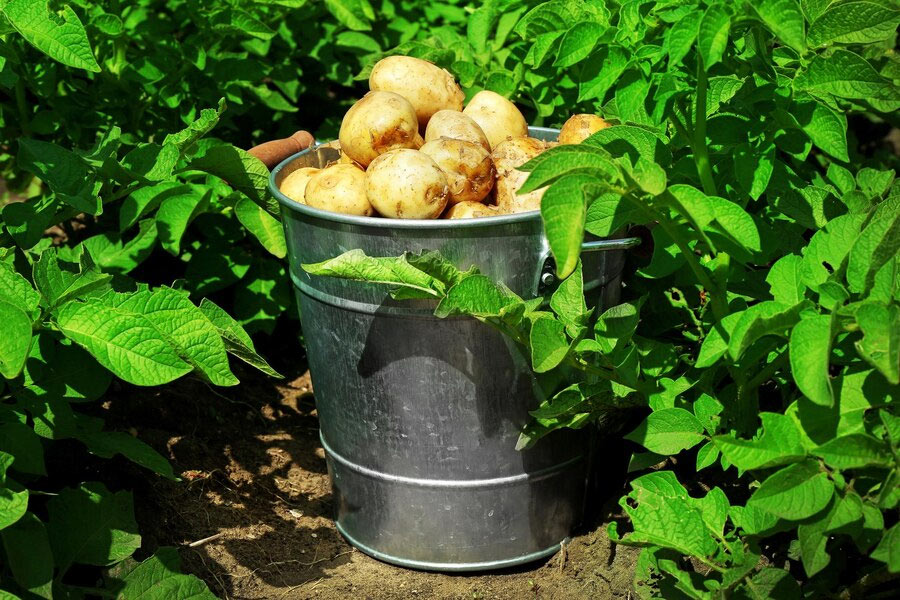
![potatoes on bucket]()
- To start, choose a 5-gallon bucket and ensure it has drainage holes at the bottom. If not, you'll need to drill some to avoid water buildup. Select certified seed potatoes or tubers, cutting larger ones into pieces with at least one or two eyes, and let them cure for a day or two in a dry, cool place.
- Prepare a potting mix using a blend of high-quality potting soil, compost, and perlite. Mix two parts potting soil with one part compost and one part perlite to ensure good drainage and nutrient content. Fill the bottom of the bucket with about six inches of this mix and place the seed potatoes on top, spacing them six to eight inches apart. Cover them with an additional four to six inches of soil and water thoroughly to settle the mix.
Don't Miss: How To Grow Mango Tree In A Pot: A Step-By-Step Guide
- Maintain consistent moisture by watering the soil when the top inch feels dry, but avoid overwatering. Every four to six weeks, apply a balanced fertiliser or one specifically for potatoes, following the package instructions. As the plants grow, they will need additional soil around them, a process known as "hilling." When the plants reach six to eight inches, add more potting mix to cover the stems, leaving only the top leaves exposed. This encourages the development of more tubers and helps prevent them from turning green and toxic.
- Keep an eye out for pests and diseases, such as aphids or blight, and address any problems promptly. Harvest the potatoes when the plants begin to yellow and die back, typically two to three months after planting. Carefully tip the bucket or use a hand fork to remove the potatoes, handling them gently to avoid damage.
- After harvesting, let the potatoes cure in a cool, dark, and well-ventilated area for one to two weeks to improve their flavour and storage life. Store the cured potatoes in a cool, dark place, such as a pantry or cellar, but avoid the refrigerator to prevent flavour changes.
Keep reading Herzindagi for more such stories.
Credits: Freepik