
5 Simple Tips For Cleaning Your New Broom Husk
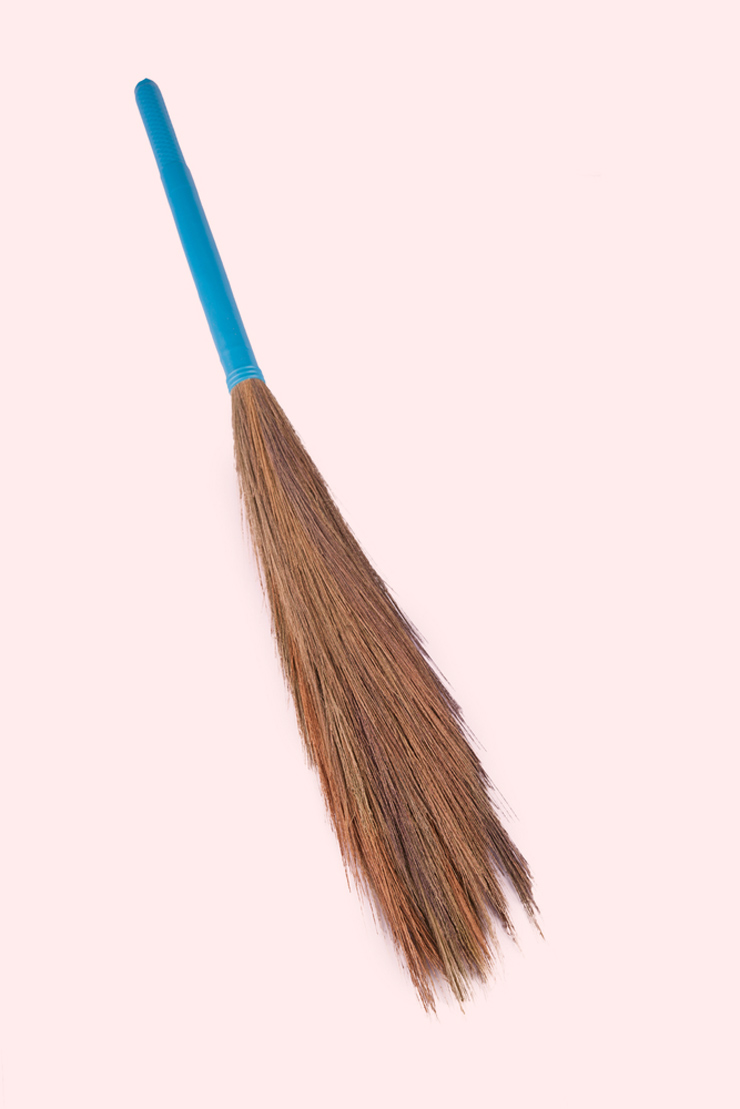
Have you ever bought a new broom and found out that its husk is covered in debris? It’s common for new brooms to come with leftover bits of husk, fibres, or packaging residue that can make them look messy and a little difficult to use at first. Whether you're using it indoors or outside, a clean broom works better and lasts longer. But how do you get rid of the debris without damaging the bristles? Here are a few easy tips to get your new broom ready to use:
5 Simple Tips For Cleaning Your New Broom Husk
1. Shake It Off
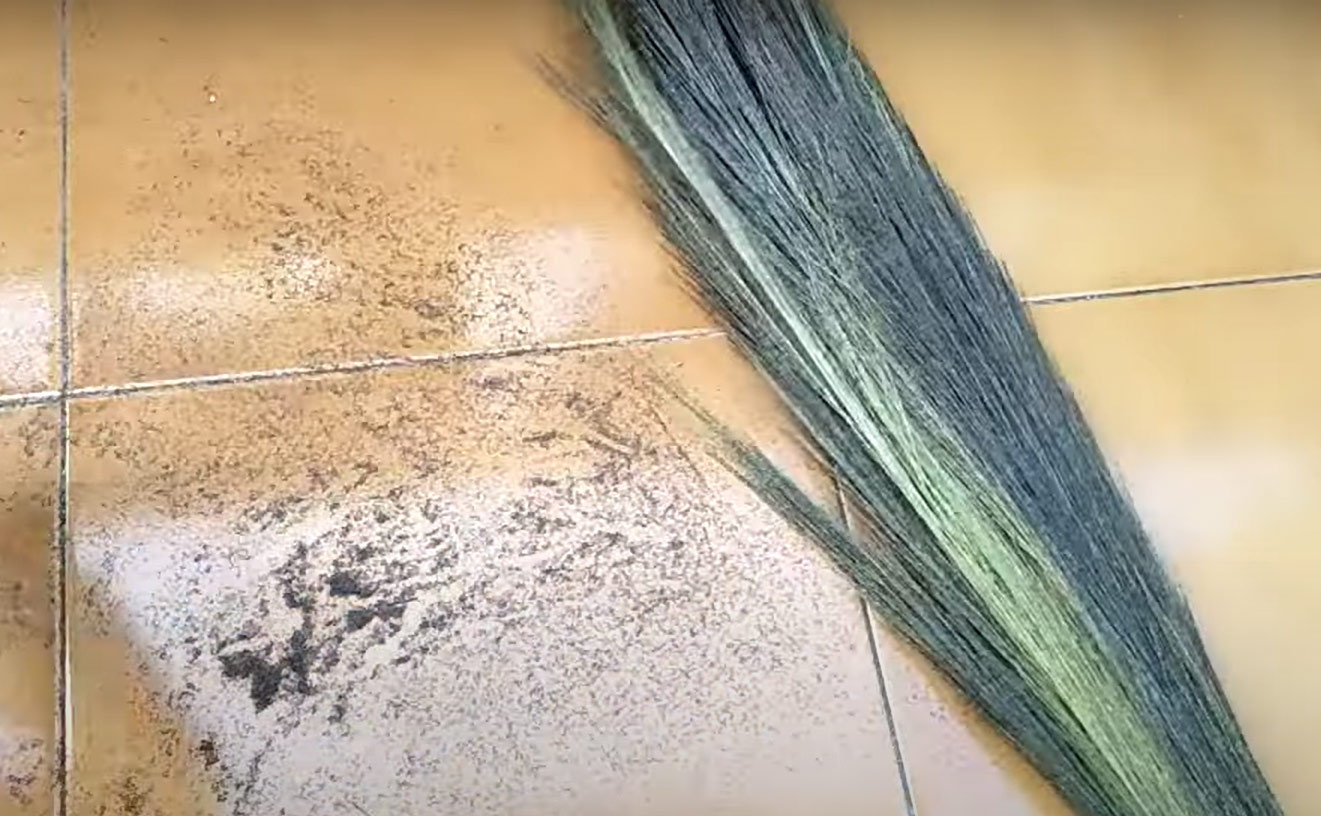
The first step is to give it a good shake. New brooms, especially those made from natural fibres often contain small particles, dust, and leftover debris from manufacturing and packaging. Hold the broom handle and firmly shake it up and down for a few seconds to loosen any loose husk, packaging remnants, or other small particles. You can also bang the broom on the floor to help loosen everything up. If you want, you can even beat it against the wall to shake off any particles.
2. Use Small Cleaning Brush
Once you've shaken off the larger particles, you may still find some residue clinging to the broom’s husk. To remove these, you can use a soft small handheld cleaning brush, and gently comb through the bristles. Work from the top of the broom to the bottom, brushing the fibres in the direction they naturally grow. Be careful not to apply too much force, as this could cause the husk to fray or break.
3. Wash With Soap And Water Solution
Next is using a soap and water solution, washing your new broom can help remove any dirt or sticky substances. Fill a bucket with water and add a small amount of mild dish soap. Dip the broom's husk into the soapy water and gently agitate it, ensuring that the bristles are fully immersed. Avoid soaking the broom for too long. After a minute or two of cleaning, rinse the husk thoroughly with clean water. Now carefully, shake the broom to remove excess water.
Don't miss: 5 Effective Tips On How To Remove Yellow Sweat Stains From Your Clothes
4. Dry It Properly
After washing, it’s important to dry the broom correctly. Shake off any excess water and let the broom dry completely, which could take several hours depending on the humidity and air circulation. Avoid leaving it in direct sunlight for long periods, as excessive heat can cause the bristles to dry out and crack.
Don't miss: DIY Cleaning Spray With 5 Basic Ingredients At Home
5. Store The New Broom Properly
Finally, after cleaning (How To Clean Your Phone Screen At Home) and drying your broom, store it in a way that will keep it clean and intact for longer. Keeping the broom off the ground will protect the husk from dirt and damage while maintaining its shape. Avoid leaning the broom against walls or surfaces where pressure could distort the bristles.
With these easy steps, you'll have a cleaner broom that’s ready to help you with all your cleaning work.
For more such stories, stay tuned to HerZindagi.
Image credit: Freepik
Also watch this video
Herzindagi video