Let's face it; even if you have an antimicrobial beauty blender that doesn’t mean it magically stays clean. It simply implies that the antimicrobial properties just make your makeup sponge a less hospitable environment for bacteria to grow. That too doesn’t completely stop the build-up that can lead to breakouts, irritation, and inflammation. Therefore, it's important to clean your beauty blender way more frequently than you currently do, ie, after every use. While cleaning sponges might seem like a tricky business to many, we are here to tell you that it's not. Follow the below given steps to clean your beauty blender in 4 simple steps
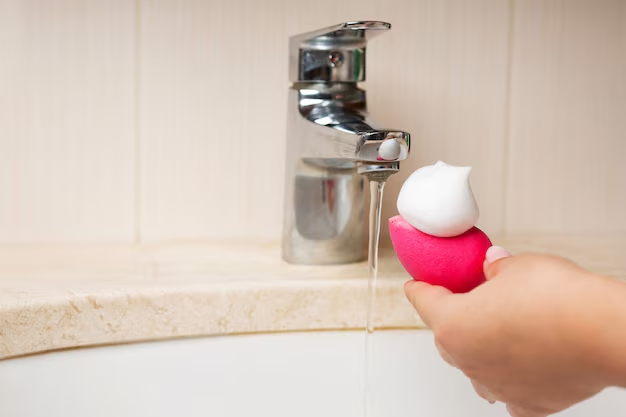
Take any soap or better, a dishwasher, to prepare soapy water in a bowl. Now put the sponge in the water and let it soak in there for 10 minutes. This will help loosen up the extra gunked-up dirt on your blender. After 10 minutes, gently rub the blender between your palms using the soap water.
Don't Miss: Essential Makeup Brushes That Every Woman Must Own
Take out the sponge from the soapy water, and open the water tap, under which, you need to rub the blender between your palms to remove the soapiness. Wash until the remaining stains are visible on the sponge.
Soaking alone won’t free the sponge of the extreme dirt. Take a small amount of dishwasher or soap in your palm and rub it on the blender until it's completely clean. Now rinse properly.
Don't Miss: Here's How You Can Use Your Dry And Wet Beauty Blender For Different Makeup Routines!
Paper tissues can effectively soap up all the water. Wrap your sponge in a tissue and let it absorb the water. The remaining water in the sponge will dry up in an air-ventilated area over a few hours.
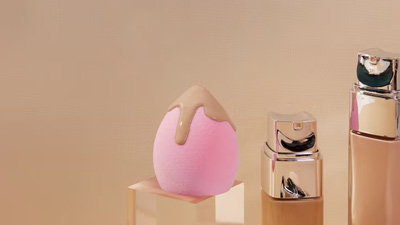
Image Courtesy: Freepik
Stay tuned to HerZindagi for more such stories.
Also watch this video
Herzindagi video
Our aim is to provide accurate, safe and expert verified information through our articles and social media handles. The remedies, advice and tips mentioned here are for general information only. Please consult your expert before trying any kind of health, beauty, life hacks or astrology related tips. For any feedback or complaint, contact us at compliant_gro@jagrannewmedia.com.