-1753813530322.webp)
How To Make A Tote Bag From Scratch At Home: A 6-Step Easy Guide
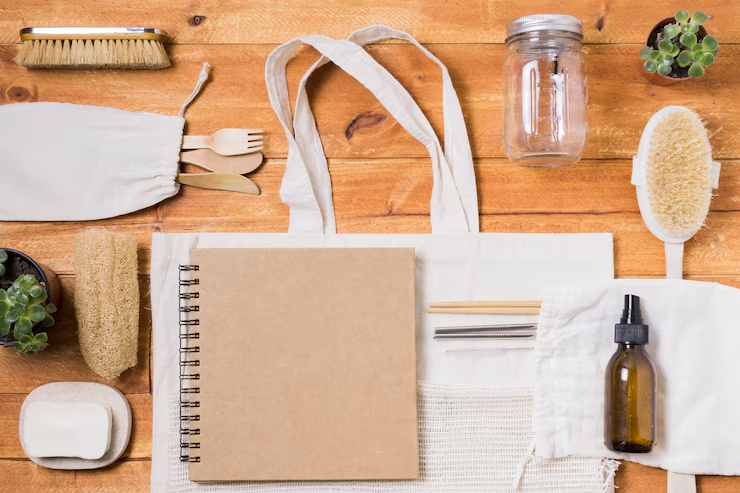
Custom-made tote bags can be a stylish addition to your accessories and make a fun personal fashion statement. Many times, we are not able to find the funky design or print on a tote bag that we desire. Learning how to make tote bags from scratch at home can give you the creative freedom to add a fun touch to them, turning them into a funky accessory. Here’s a complete process to make a tote bag at home.
Material Required For Making A Tote Bag From Scratch
- Cotton fabric
- A sewing machine
- Fabric Scissor
- Thread
- Iron

Steps To Make A Tote Bag From Scratch
Step 1: To start this DIY tote bag project, cut two 18"x14" rectangles from both your outer and inner fabric. Then, cut two 18"x14" rectangles of interfacing. Cut your canvas straps into two pieces, each 21" long. Next, on the long sides of all the fabric and interfacing rectangles, cut out a 2"x2" square from each bottom corner—this will help shape the base of the tote.
Step 2: Iron the interfacing onto the back side (wrong side) of the outer fabric rectangles. Make sure to follow the instructions that come with your interfacing for proper heat and application. Next, place the outer fabric pieces together with the right sides facing each other, then pin them in place. Sew a straight 1/2-inch seam along both sides and the bottom. Leave the top edge and the two cut-out corners unsewn. Once done, press the seams open.
1
2
3
4
Step 3: Take the cut-out corners and pinch them together so the side and bottom seams line up in the center. Pin across the gap, then sew a straight 1/2-inch seam. This helps give the bag a flat bottom and adds depth. Do the same thing with the inner (lining) fabric—place the right sides together, then repeat the same steps as you did with the outer fabric.
Don't Mis: 5 Types Of Chic Handbags That Effortlessly Elevate Any Look
Step 4: Turn the lining fabric right-side out and place it inside the outer fabric, so the right sides are facing each other. Tuck the canvas straps between the inner and outer layers, with two strap ends positioned on the front and two on the back of the bag. Pin each strap end about four inches in from the side seams. Then, pin around the top edge of the bag to hold everything in place.
Don't Miss: How To Make Designer Clutch Bag At Home: A DIY Guide
Step 5: Start sewing at one of the side seams and stitch a 1/2-inch seam around the top edge of the bag. Stop about 4 inches before you reach where you started. This should secure all four ends of the canvas straps while leaving a big enough gap to turn the bag right-side out later.
Step 6: Pull the fabric and straps through the 4-inch opening to turn the tote bag right-side out. Use a warm iron to gently press out any wrinkles. Then, sew a top-stitch all the way around the opening of the bag. This not only gives the edges a clean, finished look but also helps secure the straps and close up the gap you left earlier.
Credits: freepik
Keep reading Herzindagi for more such stories.
Also watch this video
Herzindagi video
1
2
3
4