
How To Grow Lily Plant At Home: A Simple Guide For Beginners
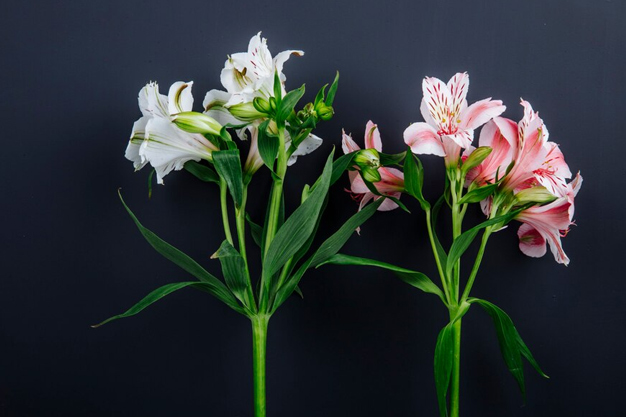
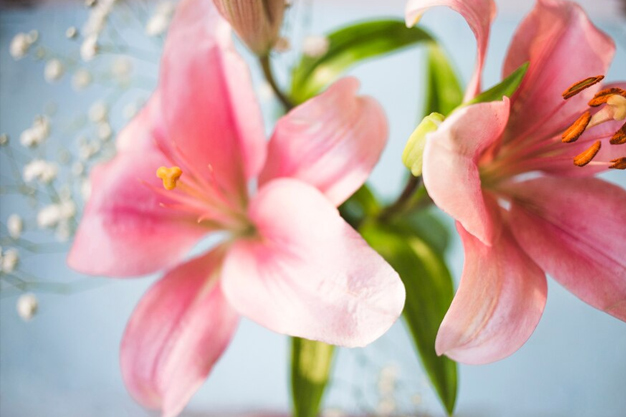
Lilies are a favourite for many! These perennial plants, which grow from bulbs, are low-maintenance when properly planted. Their beautiful star-shaped flowers bring both elegance and a delightful fragrance to any garden. By incorporating early, mid-season, and late-blooming varieties, you can enjoy their vibrant blossoms from spring until the first frost. Here’s a simple guide to help you successfully grow lilies in your home garden.
Supplies Needed For Growing Lily Plant At Home
To grow lilies at home, you will need the following supplies:
- Lily Bulbs – Choose healthy, plump bulbs for best results.
- Well-Draining Soil – Lilies thrive in soil that doesn’t retain too much water.
- Flower Pot or Garden Bed – If growing in a pot, select one with drainage holes. Alternatively, choose a spot in your garden with good sunlight.
- Compost or Organic Fertiliser – Helps enrich the soil and provides nutrients for the plant.
- Mulch – To keep the soil moist and protect the roots from extreme temperatures.
- Watering Can or Hose – Lilies need regular watering, but ensure the soil drains well to avoid root rot.
- Garden Gloves – To protect your hands when planting.
- Shovel or Trowel – For planting the bulbs at the correct depth.
- Stake (Optional) – For tall lily varieties that may need support as they grow.
With these basic supplies, you'll be well-equipped to grow beautiful lilies in your home garden.
Don't Miss: How To Care For Rose Plants: Complete 7-Step Guide
How To Grow Lily Plant At Home
We got in touch with Swaminathan, a local gardener from a plant nursery in Dwarka, who shared a detailed guide on how to grow lily plants at home. Here’s a step-by-step approach to help you grow your own lilies:
Step 1: Choose the Right Bulbs
Start by selecting healthy lily bulbs. Look for firm, plump bulbs without any signs of mold or damage. You can choose from various varieties based on your garden's needs—some are better for pots, while others thrive in garden beds.
Step 2: Pick a Sunny Spot
Lilies love sunlight, so choose a location that receives at least 6 hours of sunlight a day. If growing in a pot, place it in a spot where it can get enough light. Ensure the area has good drainage to prevent waterlogging.
Step 3: Prepare the Soil
Lilies prefer well-draining, slightly acidic to neutral soil. Swaminathan recommends enriching the soil with compost or organic matter. If you're growing in a pot, use a high-quality potting mix to ensure proper drainage.
Step 4: Plant the Bulbs
Plant the lily bulbs about 4-6 inches deep in the soil. Space them around 6-8 inches apart to allow for proper growth. If you're planting multiple bulbs in a pot or garden bed, give them enough space to spread their roots.
Step 5: Water Gently
After planting, water the lilies lightly to settle the soil around the bulbs. Ensure that the soil is moist but not soggy. Water consistently throughout the growing season, but make sure the soil drains well to prevent root rot.
Step 6: Apply Mulch
Swaminathan suggests adding a layer of mulch around the base of the lilies. This helps retain moisture, prevents weed growth, and regulates soil temperature. Avoid piling mulch directly on top of the bulb.
Step 7: Fertilise Regularly
During the growing season, feed your lilies with a balanced fertiliser or organic compost. Apply fertiliser every 4-6 weeks for healthy growth and vibrant blooms. Swaminathan advises using a low-nitrogen fertiliser to prevent excessive foliage growth.
Don't Miss: How To Grow Singhara Plant At Home: 8 Tips For Growing Fresh Water Chestnuts
Step 8: Support the Stems
Some tall varieties of lilies may require support to keep their stems upright. Use a stake or garden support to ensure the stems don’t bend or break as the plant grows.
Step 9: Deadhead and Prune
Once the blooms fade, remove them by cutting the flower stalks back. Deadheading encourages more blooms and prevents the plant from wasting energy on seed production. After the flowering season, cut back the foliage to help the plant conserve energy for the next bloom cycle.
Step 10: Prepare for Winter
In cooler climates, lily plants might need protection during the winter. Swaminathan suggests cutting back the foliage in late fall and adding a layer of mulch to protect the bulb from frost.
By following these simple steps, you can enjoy the beauty and fragrance of lilies in your home garden throughout the growing season!
Keep reading Herzindagi for more such stories.
Credits: Freepik
Also watch this video
Herzindagi video