The incredible benefits of milk are not unknown to us. It is one of the popular ingredients that has been used in skincare products for centuries. According to the National Institute of Health, milk products are widely used in the treatment of dermatological diseases for promoting the healing of chronic wounds, hastening tissue regeneration, and the treatment of acne vulgaris or plaque psoriasis. The nourishing properties of milk make it an excellent ingredient for skin nourishment in winter. As we approach winter, a milk facial is one of the most effective treatments one can look for to achieve hydrated and glowing skin. Scroll down to learn the benefits of milk facial and how you can do it at home.
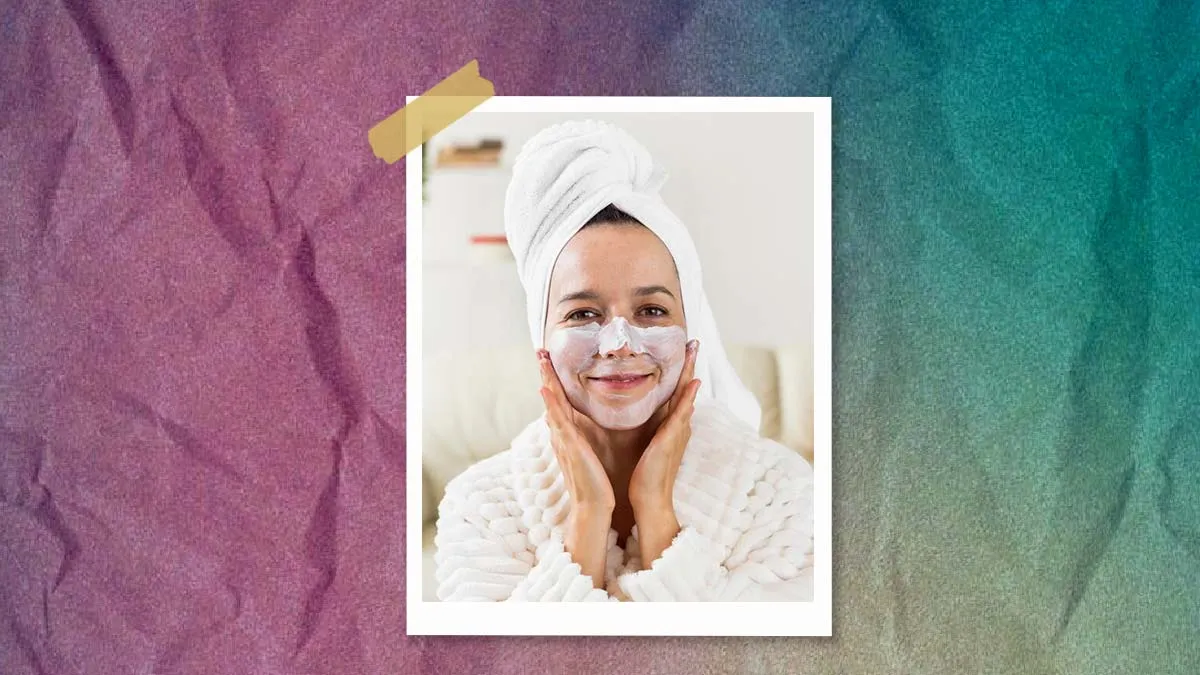
As the name suggests, a milk facial involves exposing the face to milk. It can involve either using milk for cleansing the face or using it as a moisturiser.

Here are the benefits of milk facials:
There is a popular belief that milk can help lighten the skin tone. Milk contains Lactic acid which is used in skincare products that boast skin brightening. However, there is no such research available that proves its effectiveness.
Milk is good for treating acne. It contains vitamin D, a lack of which leads to acne. Applying milk to acne may serve as a temporary treatment for acne.
Don't Miss: Lactose Intolerant: Cold, Hot, Or Warm Milk? What to do, Alternatives, As Per Clinical Nutritionist
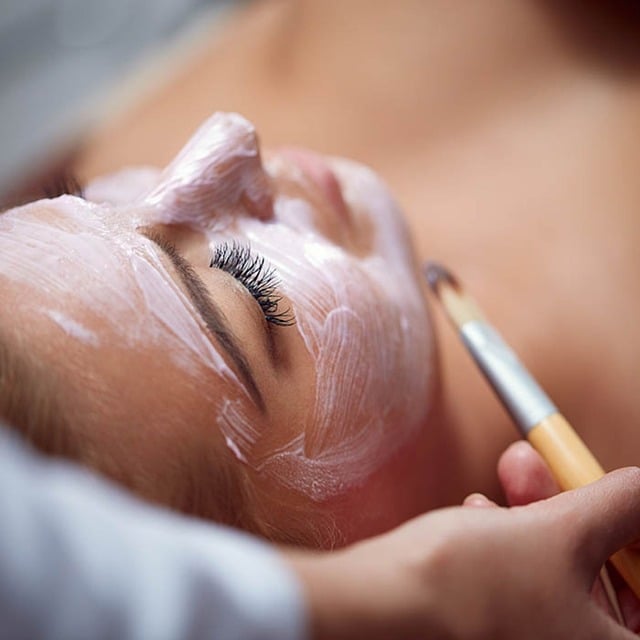
Here’s a step-by-step guide to do milk facials at home:
Step 1: Take two to three tablespoons of cold raw milk in a bowl, add half a tablespoon of glycerine into it and mix it well.
Step 2: Apply the mixture on your face and lips using a cotton ball.
Step 3: Leave it for 20 to 30 minutes.
Step 4: Gently massage your face and then wash it off using cold water.
Step 5: Pat dry.
You can try this milk facial once or twice a week for maximum benefits.
Don't Miss: Malai For Face: 3 Benefits, How To Apply, And Potential Side Effects
Follow the milk facial steps to get glowing and nourished skin in winter.
Image Courtesy: Freepik/Unsplash
Also watch this video
Herzindagi video
Our aim is to provide accurate, safe and expert verified information through our articles and social media handles. The remedies, advice and tips mentioned here are for general information only. Please consult your expert before trying any kind of health, beauty, life hacks or astrology related tips. For any feedback or complaint, contact us at compliant_gro@jagrannewmedia.com.